


Underwater Photography for Beginners
Equipment, lighting, composition and safety tips to help you capture better underwater images without making the dive more complicated. SEGURSUB | Specialists Since 2003
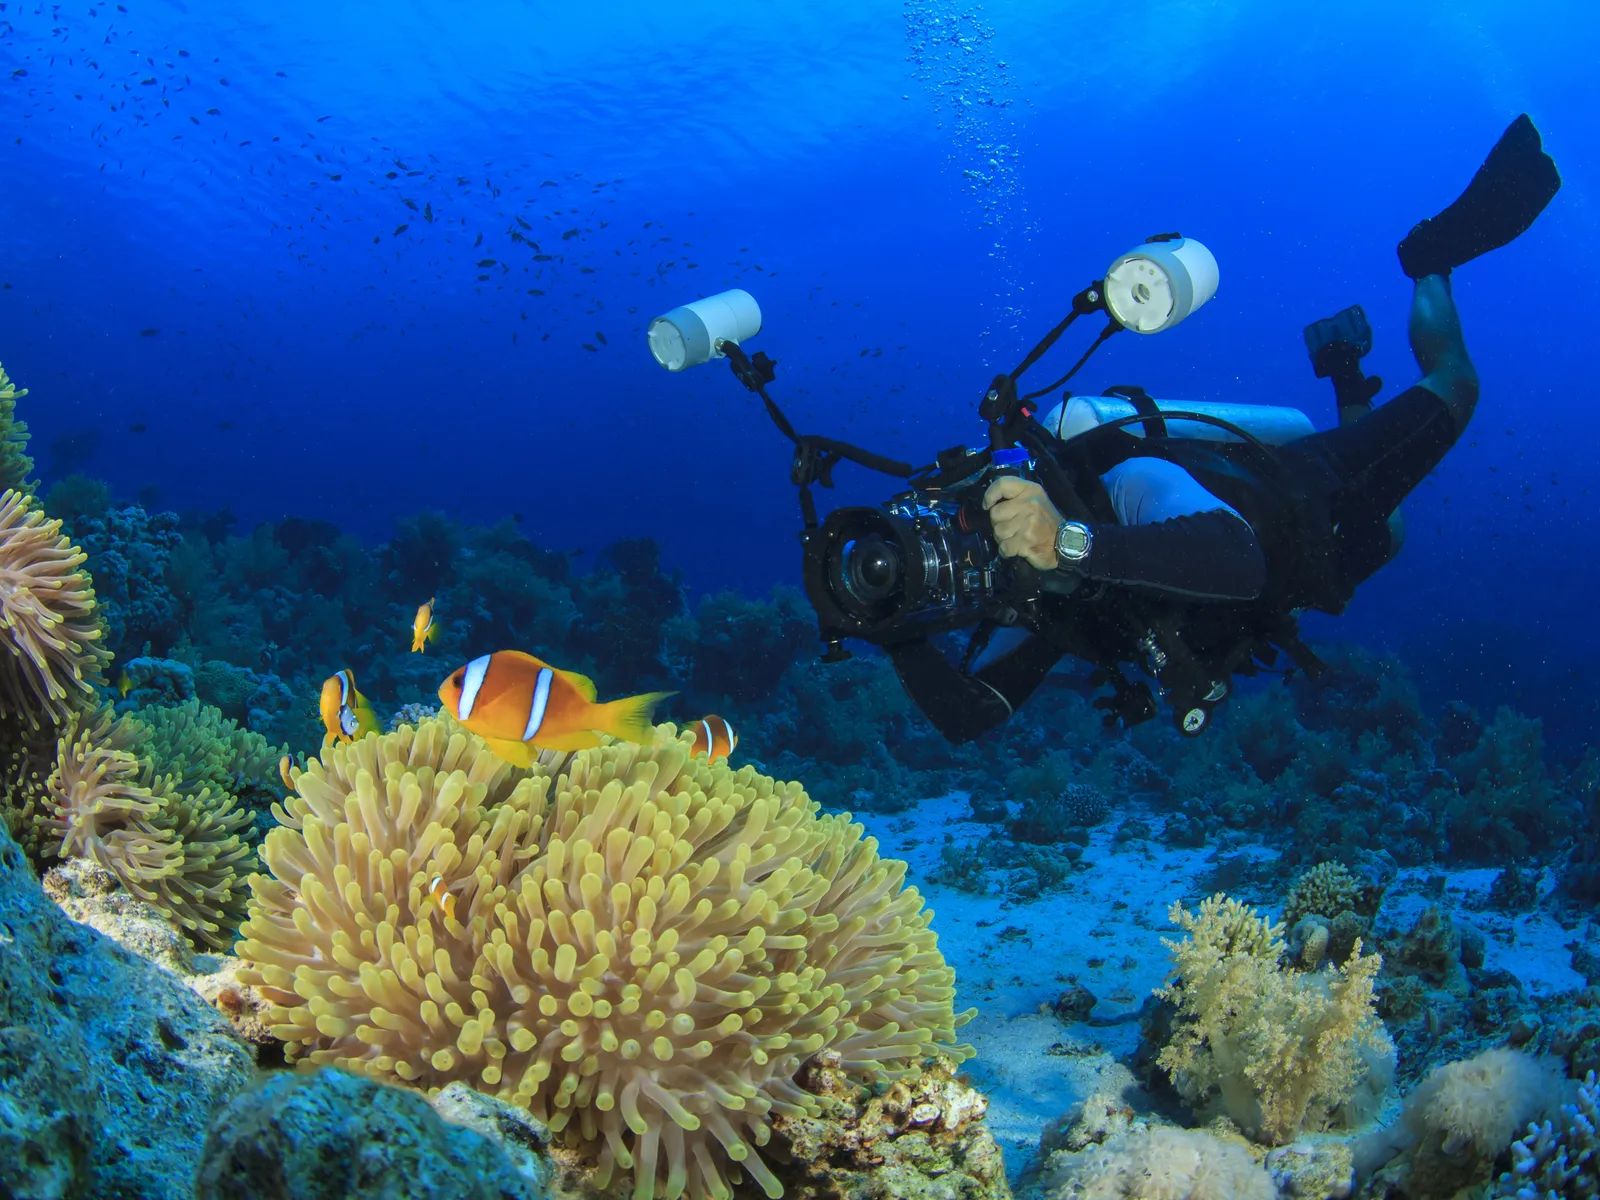
1. Equipment, Buoyancy and Colour
You do not need a professional camera to get started. What you need is a reliable setup, good buoyancy control and a short distance between you and your subject.
Underwater photography combines photographic technique, diving skills and respect for the environment. Limited light, colour absorption and water movement require simple, repeatable decisions.
THE REAL PRIORITY - A simple camera used well produces better images than advanced equipment handled with poor buoyancy.
What equipment do you need to get started?
An action camera, a compact camera or a smartphone with an approved underwater housing can all be used for learning. The housing must be compatible with the device and rated for a depth greater than the maximum depth of the planned dive.
BASIC EQUIPMENT
- Camera and compatible housing
- Sufficient battery life and memory capacity
- Video lights or strobes
BEFORE CLOSING, CHECK
- O-ring clean and free from fibres
- Buttons and locking mechanism working properly
- The housing is closed correctly.
Do not routinely use an underwater housing close to its maximum depth rating. Impacts, sand, an incorrectly fitted O-ring or normal wear may reduce its watertight integrity.
Buoyancy is more important than the camera
The photographer must be able to stop, change position and approach the subject without touching or resting on the seabed. Unstable buoyancy produces blurred images and increases the risk of damaging the environment.
Avoid finning directly above sand or sediment. Suspended particles reduce contrast and appear as white spots when illuminated by a strobe or video light.
Practising first in a swimming pool or calm, shallow area will usually improve your results more than buying additional accessories.
Why do colours disappear?
Water progressively absorbs light. Red wavelengths disappear first, followed by orange and yellow. As depth increases, the scene gradually takes on a blue or green appearance.
- Move closer to reduce the amount of water between the camera and the subject.
- Use artificial lighting at close range.
- Adjust the white balance when working with natural light.
A strobe or video light can only restore colour within its effective range. Attempting to illuminate a distant subject usually produces a dark background and a large number of bright particles.
The main rule: get closer
Distance reduces sharpness, colour and contrast. Approach slowly and from the side, without chasing the animal or blocking its path.
Whenever possible, use a wide field of view instead of digital zoom. Digital zoom simply crops the image and does not reduce the amount of water between the camera and the subject.
2. Camera, Housing and Lighting
Your camera settings should be checked while still on land. The fewer adjustments you need to make underwater, the more attention you can give to the dive itself.
Action cameras: basic settings
Action cameras are compact, robust and easy to hold. They work best when the diver stays close to the subject and avoids sudden movements.
- Select the resolution before entering the water.
- Activate image stabilisation if the available light allows it.
- Disable digital zoom and lock the screen.
- Clean the front port of the housing and check the battery and memory capacity.
Red filters can improve the appearance of natural light in blue water at moderate depths. However, they do not replace a strobe and reduce the amount of light reaching the sensor, which may make darker scenes look worse.
Compact cameras and underwater housings
A compact camera provides greater control over exposure, focus and white balance. Depending on the system, it may also allow you to add wide-angle or macro lenses.
The O-ring must be clean, correctly seated and lightly lubricated only when recommended by the manufacturer. Excess grease attracts sand and fibres; it does not improve the seal.
SECURE CLOSURE - Assemble the housing in a clean, dry location. After closing it, visually inspect the entire seal and test all the buttons before entering the water.
Underwater video lights and strobes
A video light provides continuous illumination and allows you to see the effect before taking the photograph. It is simple to use for video and close-up photography, although its power may be limited.
An underwater strobe produces a short, powerful burst of light. It restores more colour and helps freeze movement, but requires practice to position the light correctly.
Position the light source away from the axis of the lens and angle it slightly outwards. This illuminates the subject without directing the full beam at the particles suspended directly in front of the camera.
What is backscatter?
Backscatter appears as white spots or patches in an image. It occurs when light reflects off suspended particles located between the camera and the subject.
- Move closer to the subject.
- Position the strobe farther from the camera using an arm.
- Aim the edge of the light beam towards the subject.
- Avoid disturbing the seabed.
Editing can remove some individual spots, but it cannot correct poorly positioned lighting or an image taken from too far away.
Focus and stability
Keep your elbows close to your body and take the photograph during a natural pause in your breathing. Never hold your breath during an ascent. Use a sufficiently fast shutter speed to compensate for movement by both the subject and the diver.
For macro photography, focus on the animal's eye or the main detail. For wide-angle photography, prioritise a clean scene with a nearby foreground subject.
3. Composition, Marine Life and Safety
The best images combine a clear point of view with a respectful approach. The camera must never take priority over monitoring your gas supply, depth or buddy.
Basic underwater composition
Avoid always photographing subjects from above. Position yourself at the same level as the subject, or slightly below it, to separate it from the background and create a more natural-looking image.
- Leave space in the direction in which the animal is looking or moving.
- Look for diagonal lines, contrast and an uncluttered background.
- Check that fins or other divers have not accidentally entered the frame.
- Take a small number of carefully prepared photographs instead of shooting continuously without observing the scene.
Macro and wide-angle photography
Macro photography
Nudibranchs, small crustaceans and reef details allow you to work at very short distances. Artificial light can easily restore their colours, but precise stability is essential.
Never rest the camera on marine organisms or move an animal to improve the composition.
Wide-angle photography
Wide-angle lenses are suitable for wrecks, reefs, large animals and scenes featuring divers. They allow you to move closer while retaining a wide field of view.
For diver portraits, agree on the position, distance and signal for repeating the shot before the dive. The diver's posture, bubbles and torch beam should all form part of the composition.
Do not chase or handle animals
A photograph never justifies touching, feeding, blocking or chasing marine life. Approach slowly and stop if the animal changes direction, accelerates, hides or shows signs of stress.
Keeping your distance and waiting patiently will usually result in more natural behaviour and a better-quality image.
Safety during the dive
Carrying a camera increases task loading. Check your instruments more frequently and agree on specific signals with your buddy before entering the water.
ALWAYS MONITOR
- Depth and dive time
- Gas supply and decompression status
- Ascent rate
DO NOT LOSE SIGHT OF
- Buddy and group
- Conditions and currents
- Exit route
Looking at the screen for too long can cause unintentional changes in depth or separation from the group. Put the camera away whenever the conditions require your full attention.
Entry, exit and transportation
When diving from a boat, hand over or receive large equipment whenever possible. Jumping into the water while holding a bulky housing may cause impacts, equipment loss or injury.
Secure the camera with an attachment system that can be released quickly in an emergency. Never attach it in a way that restricts access to your inflator, weights, pressure gauge or alternate air source.
SAFETY RULE - Stop taking photographs if they interfere with buoyancy, communication, gas monitoring or the planned exit.
4. Common Mistakes, Improvement and Insurance Cover
Progress comes from reviewing every dive and analysing distance, lighting, stability, background, exposure and the subject's behaviour.
Common beginner mistakes
Photographing from too far away
The image loses colour, detail and contrast. The solution is to approach in a controlled manner and use a suitable lens or focal length.
Using a strobe for distant scenes
The flash illuminates nearby particles but does not reach the background. For wide landscapes, work with natural light and adjust the white balance.
Failing to monitor gas consumption
Concentrating on the composition may delay checks of the pressure gauge. Establish clear intervals for checking your gas supply, depth and dive time.
Buying too much equipment
An advanced camera cannot compensate for poor buoyancy or incorrectly positioned lighting. First master a simple setup, then add new components gradually.
How to improve more quickly
After each dive, select a small number of images and analyse why they worked or failed. Pay particular attention to distance, light position, stability, background and focus.
- Practise your camera settings in a swimming pool or at shallow depth.
- Change only one variable at a time.
- Record the settings that work under different conditions.
- Consider specialised training with a qualified instructor.
Is editing necessary?
Editing can correct white balance, exposure, contrast and minor composition problems. It can also help reduce isolated backscatter spots.
However, it cannot fully recover an image that is out of focus, blurred or taken from too far away. The aim should still be to capture the best possible image underwater.
Underwater photography and safety
Carrying a camera does not change the rules of recreational diving. You must respect the limits of your certification, the planned dive and the environmental conditions.
Before travelling, check that you have diving insurance that provides cover in your destination country and verify whether the policy includes any depth restrictions.
Conclusion
You do not need a professional camera to begin underwater photography. Buoyancy, proximity, lighting and respect for the environment have a greater impact than the price of the equipment.
Start with a simple setup, practise under controlled conditions and review your results after every dive.
THE KEY PRINCIPLE - The best underwater image never compromises the diver, their buddy or the marine environment.
SEGURSUB
Technical information to support safer and more responsible diving. segursub.com
